This guide walks you through the complete setup process — from creating your account to reviewing your first automated SEO analysis. Most teams are up and running within 5 minutes. Our platform processes over 10,000 content jobs monthly across 500+ managed sites, and the setup flow described here is the same one used by agencies managing enterprise portfolios. By the end of this page you will have a connected site, a configured agent, and your first AI-generated article in progress.
Before You Begin
AI SEO Agents work with any WordPress site that exposes the WordPress REST API (enabled by default on WordPress 5.0+). You will need an admin-level WordPress user account and an Application Password for secure, token-based authentication. If you prefer Shopify, see the Shopify Admin API documentation and our Shopify Publishing Setup guide. If you do not use either platform, you can still connect via Google Search Console to run audits and track rankings — see Connecting Your Site for non-WordPress options.
- A WordPress site running version 5.0 or later with the REST API accessible.
- HTTPS enabled (Application Passwords require SSL in production environments).
- An admin-level user account with permission to create Application Passwords.
- Alternatively, a site verified in Google Search Console for audit-only workflows.
No WordPress? You can still use the platform for SEO auditing and rank tracking by connecting Google Search Console. Content generation and publishing features require a WordPress connection.
Step-by-Step AI SEO Setup
Create Your Account
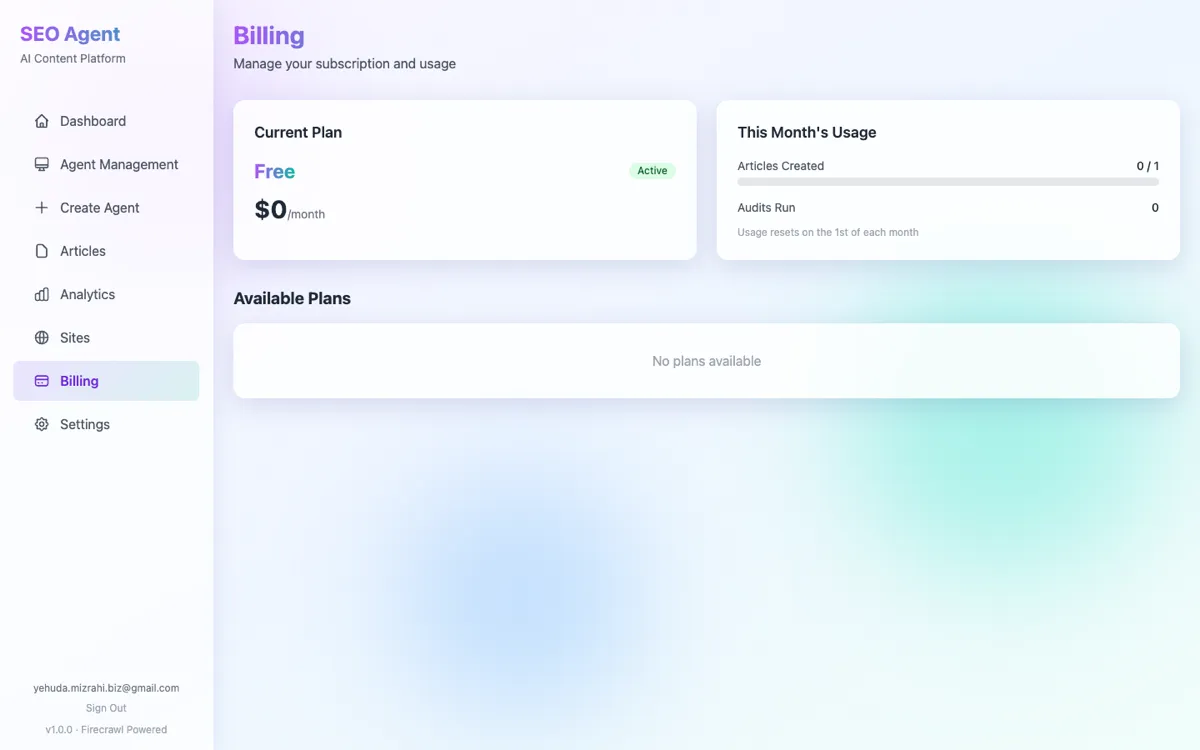
Sign up at aiagentssee.com/pricing and choose a plan. All plans include a 14-day free trial with full access to every feature — no credit card required to start. After signing up you will land on the dashboard, which is your central hub for managing agents, articles, and site connections. You can upgrade or downgrade your plan at any time from the Settings page.
Connect Your WordPress Site
Navigate to Settings → Sites in the dashboard and click Add Site. Enter your WordPress URL (e.g., https://example.com), your WordPress username, and the Application Password you created in the WordPress admin. The platform verifies connectivity automatically by calling the WordPress REST API. If the connection fails, double-check that your REST API is not blocked by a security plugin and that your credentials are correct. See Connecting Your Site for detailed instructions and troubleshooting.
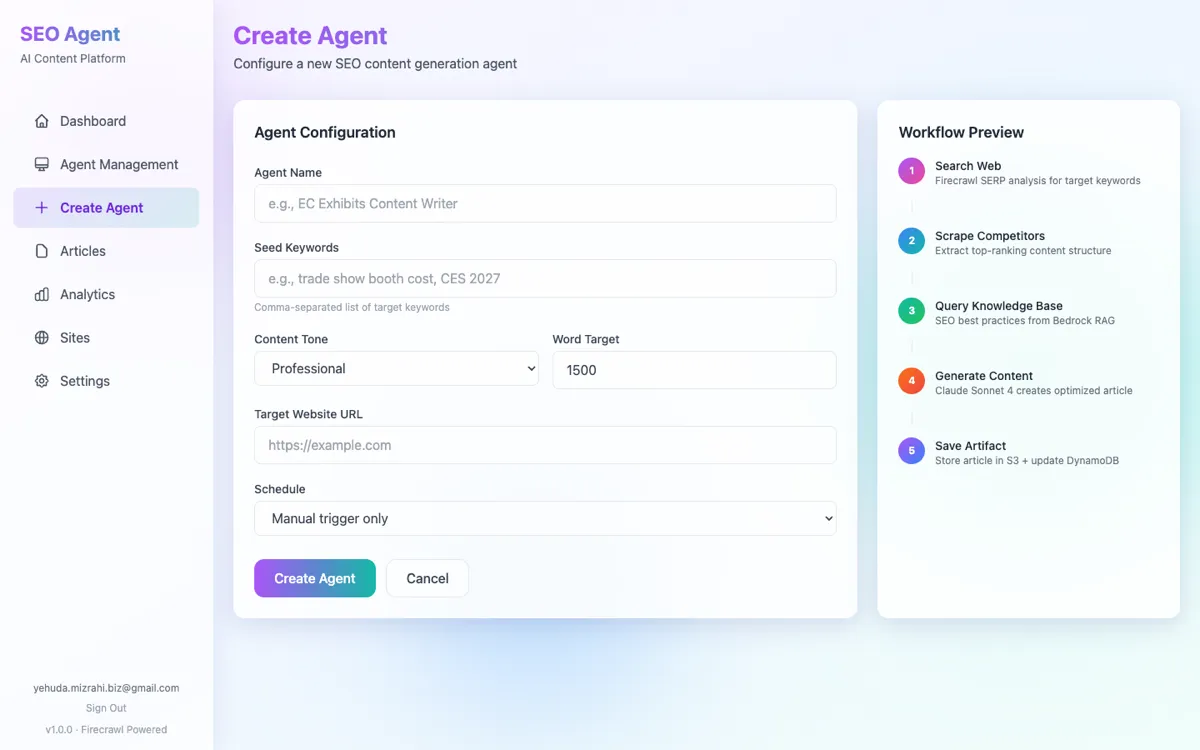
Create Your First Agent
Go to the Agents tab and click New Agent. Give it a descriptive name (e.g., "Blog Content Agent"), then add your target keywords — one per line. Each keyword becomes a separate content job when you trigger generation. Select your preferred tone (professional, conversational, technical, or persuasive) and set a word count target. We recommend 1,500–3,000 words for most niches; longer articles tend to rank better for competitive keywords. You can always adjust these settings later.
Launch Your First Job
From the Articles tab, select your agent and click Generate. The content agent begins its autonomous workflow: researching competitors via Firecrawl, building a detailed outline, and writing a full SEO-optimized article section by section. Progress updates stream to your dashboard in real time via WebSocket, showing which tool the agent is using, how many tokens it has consumed, and intermediate results. A typical 2,000-word article takes 2–5 minutes to generate.
Review and Publish
Once the job completes, your article appears in the Articles list with its SEO score and word count. Click Preview to see the full HTML render with image placeholders, table of contents, and author bio. Review the content for accuracy and brand voice, then hit Publish to send it to WordPress. You can publish as a draft for further editing or go live immediately. The platform supports both Elementor (rich layout with FAQ toggles and full-width images) and standard HTML publishing.

Choosing Your First Keywords
Keyword selection determines the quality and ranking potential of your generated content. Based on patterns observed across agencies managing 50+ client portfolios, the most effective first keywords share three traits: moderate search volume (100–1,000 monthly searches), clear commercial or informational intent, and a gap in existing top-ranking content.
- Start with long-tail keywords — Phrases of 3–5 words are less competitive and produce more focused content. "trade show booth cost" outperforms "trade show" in conversion rate.
- Use your existing data — If you have Google Search Console connected, look for queries where you rank positions 8–20. These "striking distance" keywords need the least effort to move onto page one.
- Group related keywords — Assign 3–5 related keywords to a single agent. The agent will create separate articles for each, building a topic cluster that signals authority to search engines.
- Avoid single-word keywords — Broad terms like "SEO" or "marketing" are too competitive for new content. The agent produces better results when given specific, targeted phrases.
Not sure which keywords to target? Run a competitor analysis first. The platform will identify content gaps — keywords your competitors rank for that you do not.
What Happens Under the Hood
When you launch a content job, the platform triggers an autonomous AI agent powered by Claude Sonnet 4.5 on Amazon Bedrock. The agent uses a ReAct (Reasoning + Acting) architecture — it thinks through each step, selects and calls tools, observes the results, and decides what to do next. The entire workflow is fully autonomous; no human intervention is required once the job starts.
- 1ANALYZE — Searches the web for your target keyword using Firecrawl, analyzing SERP competition, content formats, and gaps in existing top-ranking pages.
- 2RESEARCH — Scrapes the top 3 ranking pages to understand content depth, heading structure, topic coverage, and internal linking patterns.
- 3PLAN — Builds a detailed article outline with H2/H3 headings, target word counts per section, and internal linking opportunities based on your existing content.
- 4WRITE — Generates each section individually using Bedrock's Converse API, maintaining consistent tone and keyword density (~1%) throughout the article.
- 5SAVE — Stores the finished article as a Markdown artifact in S3 with full metadata including word count, keyword, and an initial SEO score.
The agent's final response in the dashboard is a short summary (~130 words) of what it did. The actual article — typically 2,000–3,000+ words — is saved to S3 via the save_artifact tool and is accessible from the Articles tab. To learn more about each pipeline and how they interact, see Understanding Agent Workflows.
Your First 24 Hours
After completing the setup above, here is what to expect during the first day. The platform works asynchronously, so you do not need to stay logged in — check back periodically or enable webhook notifications to get updates.
Initial Crawl (1–2 hours)
If you connected a WordPress site, the platform begins an initial crawl of your existing content. It fetches all published pages and posts via the REST API and runs them through the SEO analyzer to establish a baseline score. You will see your site's average SEO score on the dashboard within 1–2 hours.
First Issues Found (4–6 hours)
The audit pipeline identifies technical SEO issues across your existing content: missing meta descriptions, broken internal links, thin content, missing alt text, and heading structure problems. These issues appear in the dashboard ranked by severity and potential impact.
First Content Generated (immediate–30 minutes)
If you launched a content job during setup, your first article will be ready within 2–5 minutes. Review it in the Preview tab, check the SEO score, and publish when ready. We recommend generating 2–3 articles on your first day to build momentum.
First Fixes Deployed (12–24 hours)
If you enable the Publisher Agent in audit mode, it will begin fixing metadata issues on your existing pages automatically. Title tags and meta descriptions are updated to meet optimal length and keyword requirements. More significant content issues are flagged for manual review or queued for the enhance mode.
Interpreting Your First AI SEO Results
The dashboard presents your SEO data across several views. Understanding what the numbers mean will help you prioritize which actions to take first.
- SEO Score (0–100) — Each article is scored across 10 dimensions including word count, keyword density, heading structure, meta quality, and content depth. A score of 85+ is considered excellent; 70–84 is good but has room for improvement; below 70 needs attention.
- Agent Queue — Shows all active and recent jobs. Green means completed successfully, yellow means in progress, red means failed. Click any job to see detailed progress events.
- Activity Chart — Displays job activity over time, broken down by status. A healthy pattern shows mostly green (completed) with occasional yellow (in-progress) and minimal red (failed).
- Top Keywords — The category chart shows which keywords you are targeting most frequently. Use this to ensure you are covering your full topic cluster, not just a few keywords.
Start with technical SEO fixes — they have the fastest impact on rankings. Missing meta descriptions, broken links, and heading structure issues can be fixed automatically by the audit agent, often improving your site's average score by 10–15 points within the first week.
Understanding Score Reports
Each article's SEO score is broken down into 10 dimensions. Understanding what each dimension measures helps you identify the fastest path to improvement. Based on analysis across thousands of scored articles, the three dimensions with the highest impact on actual search rankings are content depth, keyword optimization, and heading structure.
| Dimension | Weight | What It Measures |
|---|---|---|
| Word Count | 15% | Total content length — articles under 1,500 words rarely rank for competitive terms |
| Keyword Density | 10% | Primary keyword frequency (~1% is optimal) without over-stuffing |
| Heading Structure | 10% | Proper H1/H2/H3 hierarchy with keyword presence in headings |
| Meta Quality | 10% | Title (50–60 chars) and description (120–160 chars) with keyword inclusion |
| Readability | 10% | Sentence length, paragraph structure, and reading level |
| Internal Links | 10% | Links to other pages on your site (3+ recommended) |
| Image Usage | 10% | Alt text, image count, and relevance to content |
| FAQ Presence | 5% | Structured FAQ section with schema markup eligibility |
| Introduction | 10% | Hook quality, keyword in first 100 words, clear value proposition |
| Content Depth | 10% | Topic coverage breadth, expert analysis, and unique insights |
For a deeper dive into what each score dimension measures and how the agent prioritizes fixes, see Technical SEO Fixes. To explore the full range of platform capabilities, visit the Features overview.
Next Steps
- Understanding Agent Workflows — Learn about the three pipelines (Content, Publish, Audit) and how they work together.
- Connecting Your Site — Detailed guide for WordPress, multi-site, and Google Search Console connections.
- Technical SEO Fixes — See how agents score and optimize your articles automatically.
- API Reference — Integrate agent workflows into your own tools.
- Pricing — Compare plans and find the right fit for your team.
About AI SEO Agents
Built on AWS with Claude AI, our platform automates SEO analysis, content generation, and WordPress publishing for sites worldwide. Trusted by agencies and businesses managing multi-site SEO at scale. See real results →